
Keeping your car clean is more than just about looks—it helps maintain the paint, prevents rust, and preserves the value of your vehicle. Washing your car the right way ensures you avoid swirl marks and scratches while achieving that showroom shine. Follow this step-by-step guide to wash your car like a pro!
Step 1: Gather Your Supplies
Before you begin, having the right tools and products will make all the difference in achieving a professional-level wash. Here’s what you’ll need:
- Two buckets – One for clean, soapy water and one for rinsing, to avoid reintroducing dirt to your car’s surface.
- High-quality car wash soap – Avoid dish soap, as it can strip protective coatings. Use a pH-balanced car shampoo.
- A foam cannon or hose with a spray nozzle – Helps with pre-soaking and loosening dirt.
- Microfiber wash mitts – These are gentle on the paint and trap dirt effectively.
- Grit guards – Placing these in your buckets helps trap dirt at the bottom, reducing swirl marks.
- Soft-bristled brushes for wheels and tires – Brake dust and grime can be tough to remove, so a dedicated brush is essential.
- Drying towels or a car blower – Use a high-quality microfiber towel or a car dryer to prevent water spots.
Step 2: Pre-Rinse Your Car
Start by thoroughly rinsing your car with a hose or pressure washer to remove loose dirt, dust, and debris. This step is crucial because it minimizes the risk of scratching your paint when you start scrubbing. If possible, use a pressure washer to reach hidden dirt in crevices and panel gaps. Focus on the lower parts of your car, as they tend to accumulate the most dirt and grime.
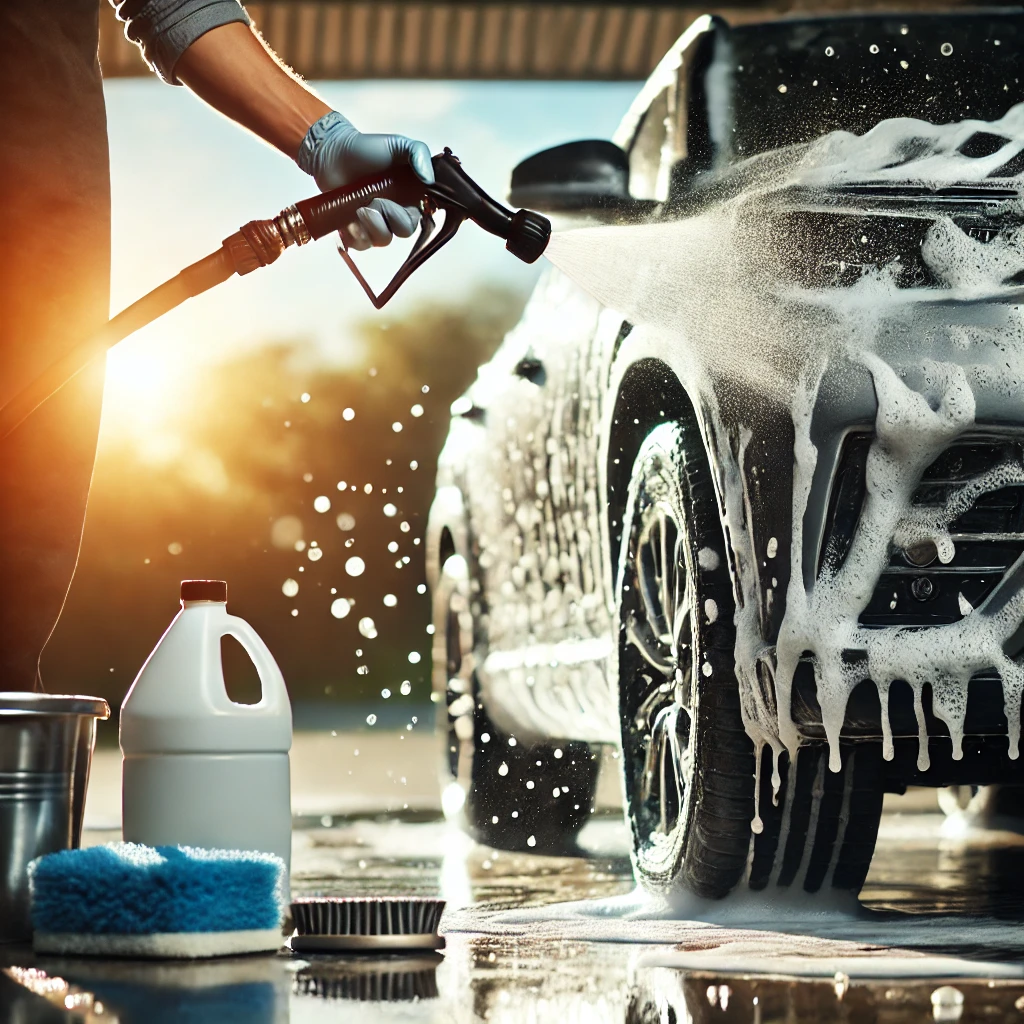
Step 3: Apply a Foam Pre-Wash
If you have a foam cannon, this is the time to use it! A thick layer of foam helps break down dirt and road grime, making it easier to wash off without aggressive scrubbing.
- Apply the foam liberally across the entire car and let it sit for 3 to 5 minutes.
- The foam will start breaking down stubborn dirt, making it easier to remove.
- Rinse off the foam completely before moving on to the next step.
This step helps reduce the risk of swirl marks and scratches by lifting dirt off the surface before you physically touch the paint.
Step 4: Use the Two-Bucket Method
The two-bucket method is the safest way to wash your car without scratching it. Here’s how it works:
- Fill one bucket with clean, soapy water and the other with plain water for rinsing.
- Dip your microfiber wash mitt into the soapy water and wash a small section of the car, working from top to bottom (never in circular motions, as that can cause swirl marks).
- After washing a section, rinse your mitt in the clean water bucket to remove any trapped dirt before dipping it back into the soap.
- Repeat until the entire car is clean.
This method ensures that you’re always using clean water and soap on your car, preventing fine scratches caused by trapped dirt.
Step 5: Clean the Wheels and Tires
Your wheels and tires collect the most grime, brake dust, and road debris, so they require special attention.
- Use a dedicated wheel cleaner and a soft-bristled brush to scrub away dirt and brake dust.
- Work one wheel at a time, ensuring you reach all the spokes and lug nuts.
- Scrub the tires as well—this helps remove old tire dressing and road grime, giving your tires a fresh look.
- Rinse off each wheel thoroughly before moving to the next.
Pro Tip: Clean your wheels before washing the body of the car to prevent splashing brake dust and grime onto clean paint.
Step 6: Final Rinse and Drying
Once you’ve washed the car and wheels, it’s time for a final rinse:
- Rinse the entire car thoroughly, making sure no soap residue is left.
- Start from the top and work your way down to ensure all suds are washed off.
- If possible, use deionized water for a spot-free rinse.
For drying, use a high-quality microfiber towel or a car blower to prevent water spots. If using a towel, gently pat dry the surface rather than dragging the towel across the paint, which can cause scratches.
Step 7: Apply a Protective Layer
Now that your car is clean and dry, adding a protective layer will help maintain its shine and keep dirt from sticking to the surface.
- Wax – A good quality wax adds a protective layer and enhances gloss.
- Ceramic Coating – Provides long-lasting protection against dirt, UV rays, and water spots.
- Spray Sealants – Quick and easy to apply, offering a temporary layer of protection between washes.
Use an applicator pad or microfiber towel to apply your chosen product, following the manufacturer’s instructions.
Bonus Tips for a Professional Finish:
Wash in the shade – Direct sunlight can cause soap and water to dry too quickly, leaving streaks and water spots.
Use separate towels for different parts of the car – Don’t use the same towel for the body and wheels to avoid cross-contamination.
Maintain your tools – Rinse and clean your wash mitts, buckets, and towels after every wash to keep them in top condition.
By following these steps, you’ll achieve a spotless, swirl-free, and professional-looking car wash every time. ?✨
Happy washing!
One response to “The Ultimate Step-by-Step Guide to Washing Your Car Like a Pro”
Hi, this is a comment.
To get started with moderating, editing, and deleting comments, please visit the Comments screen in the dashboard.
Commenter avatars come from Gravatar.